Quick Start
Get the Laravel backend and the Flutter app running — the shortest path, with links to every detailed step.
Item: Learnify LMS
What You're Setting Up
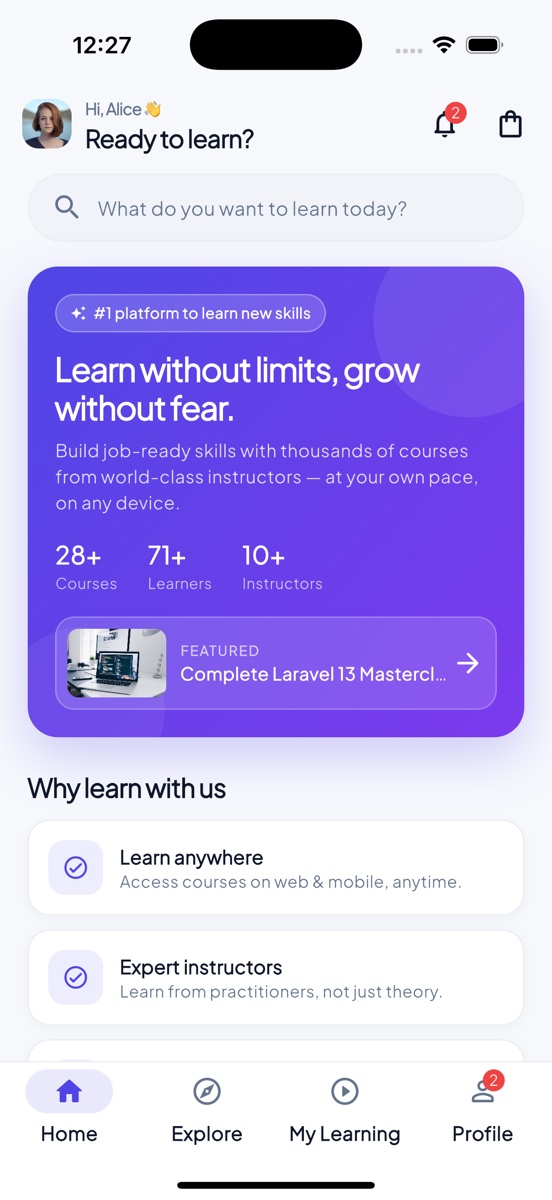
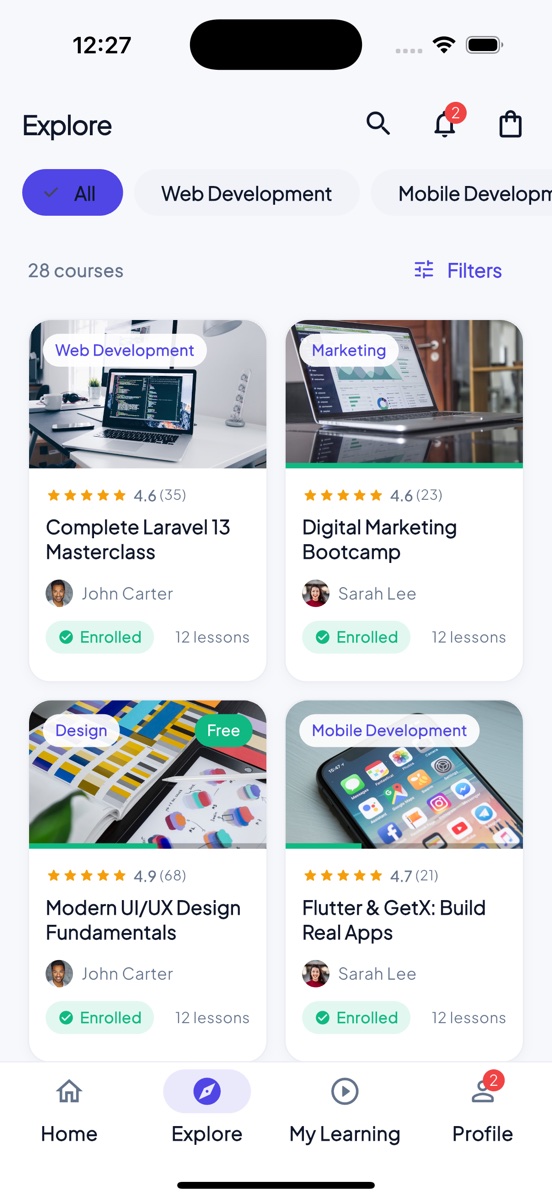
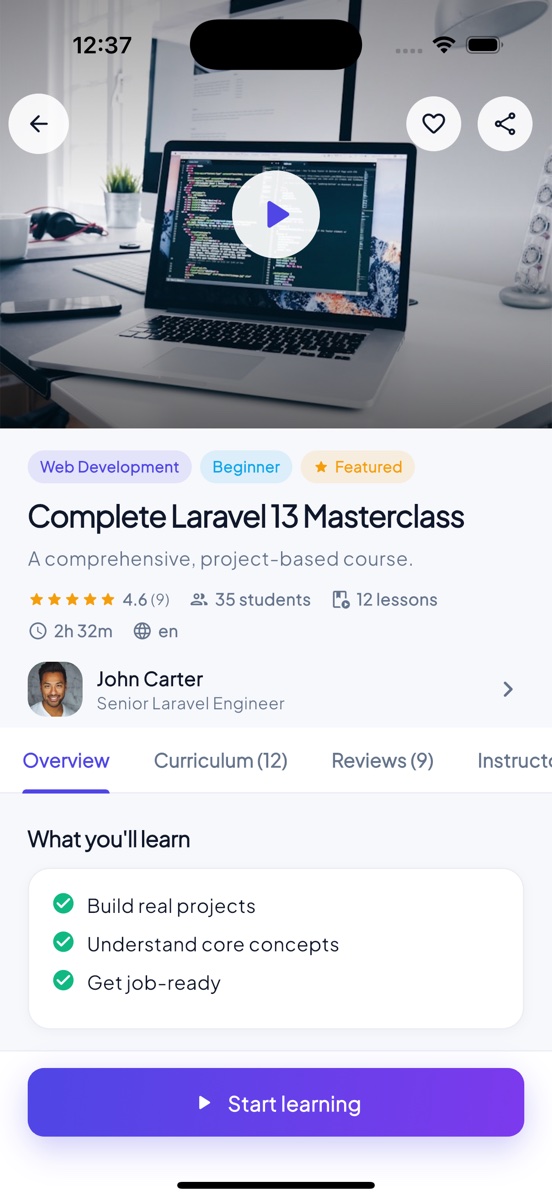
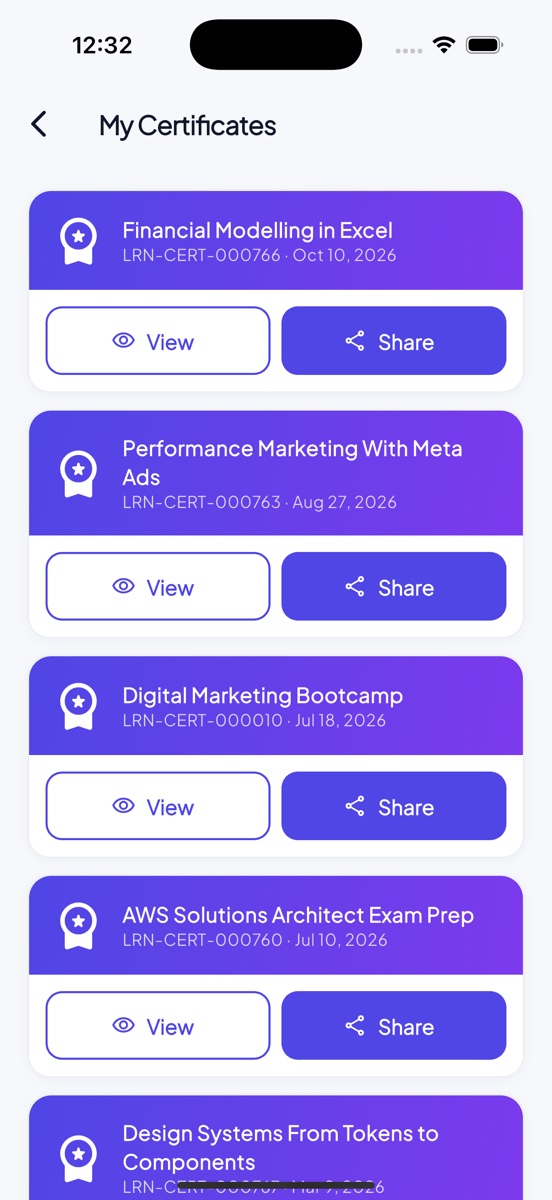
Learnify LMS is one Laravel backend and one database with two faces on top of it: the website (storefront, student area, instructor workspace and admin panel), and a Flutter Learnify LMS App for Android and iOS, used by students and instructors. Set up the backend first — the app points at its API.
Web Backend
The Laravel install: storefront, learning area, instructor workspace, admin panel and the /api/v1 the app talks to.
Mobile App
Flutter app for Android and iOS (students and instructors). Point it at your API URL, set the name and icon, and build.
Jump to setup →The download contains two folders:
| Folder | What it is |
|---|---|
WebSourceCode | The Laravel 13 application — upload this to your server. |
AppSourceCode | The Flutter project, with the Android and iOS projects inside. |
Setup Order
Do the backend first. The app needs the API to be live and reachable over HTTPS before it can log anyone in.
Fastest path to a working site: finish stage 1 and you already have a live storefront, a student area and an admin panel. The app in stage 2 is added on top whenever you are ready.
Stage 1 · Web Backend (Laravel)
Upload the WebSourceCode folder to your server, point the domain at its public
directory, then open /install in a browser. The wizard does the rest — there is no command
line step required. Full detail is in the Web Panel guide.
-
Check the server
PHP 8.3+, MySQL 8.0+, URL rewriting,
allow_url_fopen. The installer verifies each item on its first screen and tells you what is missing. -
Create an empty database
One database and one user with full rights on it. Do not create any tables — the installer does that.
-
Run the installer
Open
https://yourdomain.com/install. Enter the database details, then your admin name, email and password. -
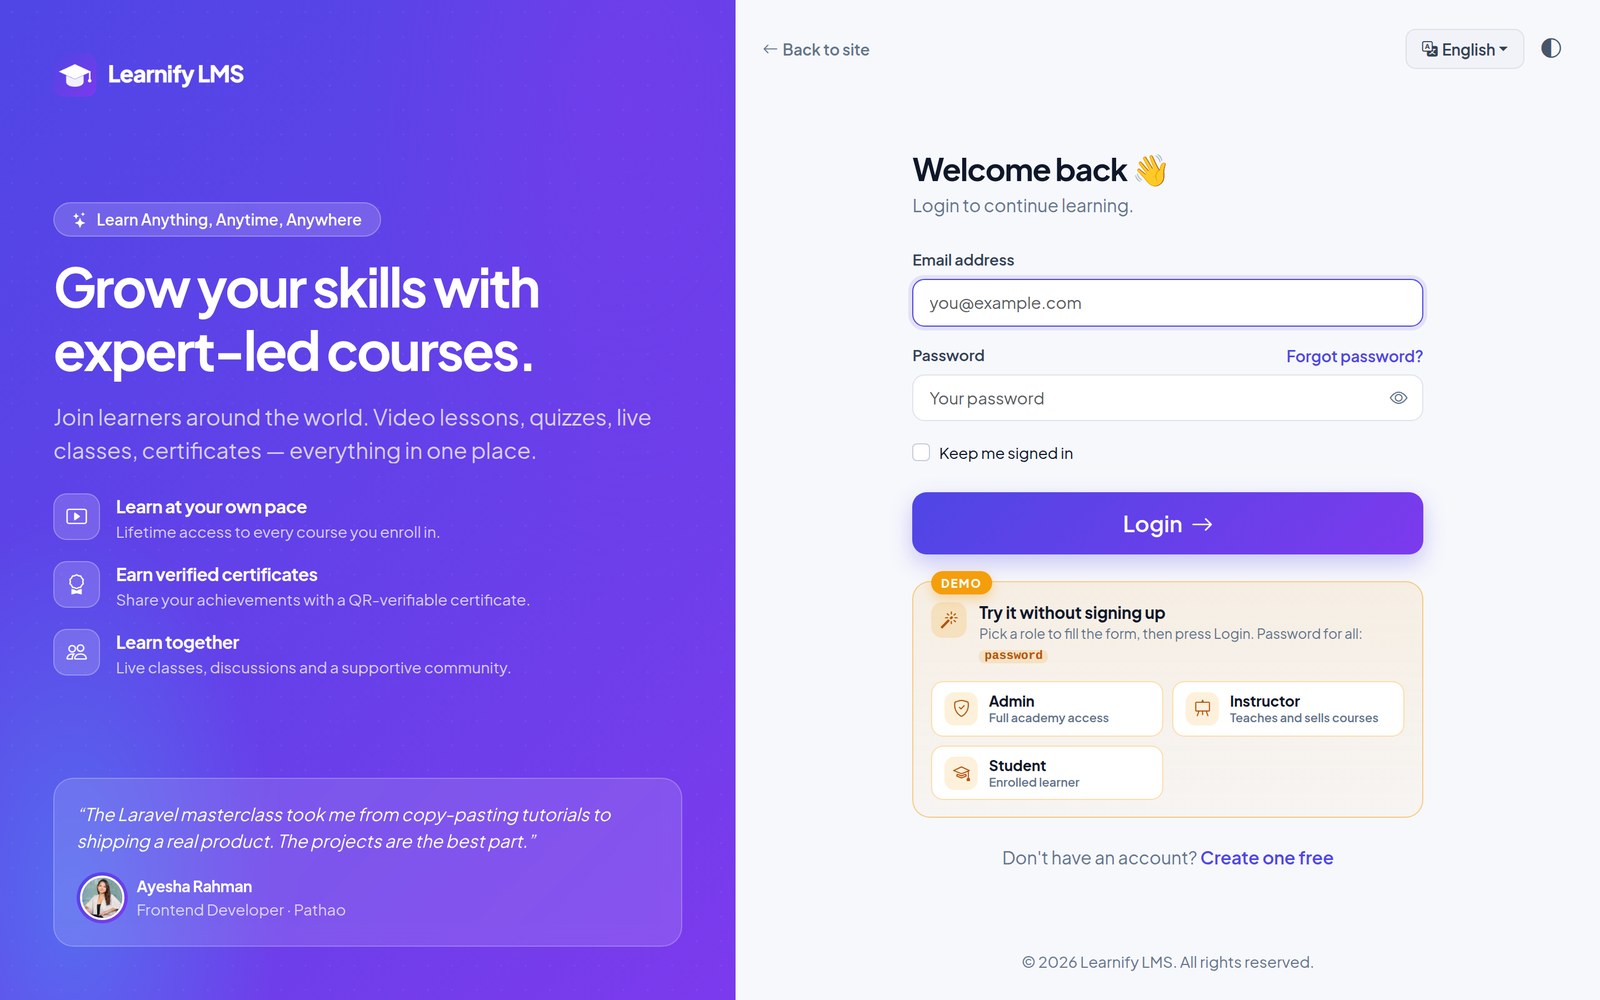
Log in and follow the setup wizard
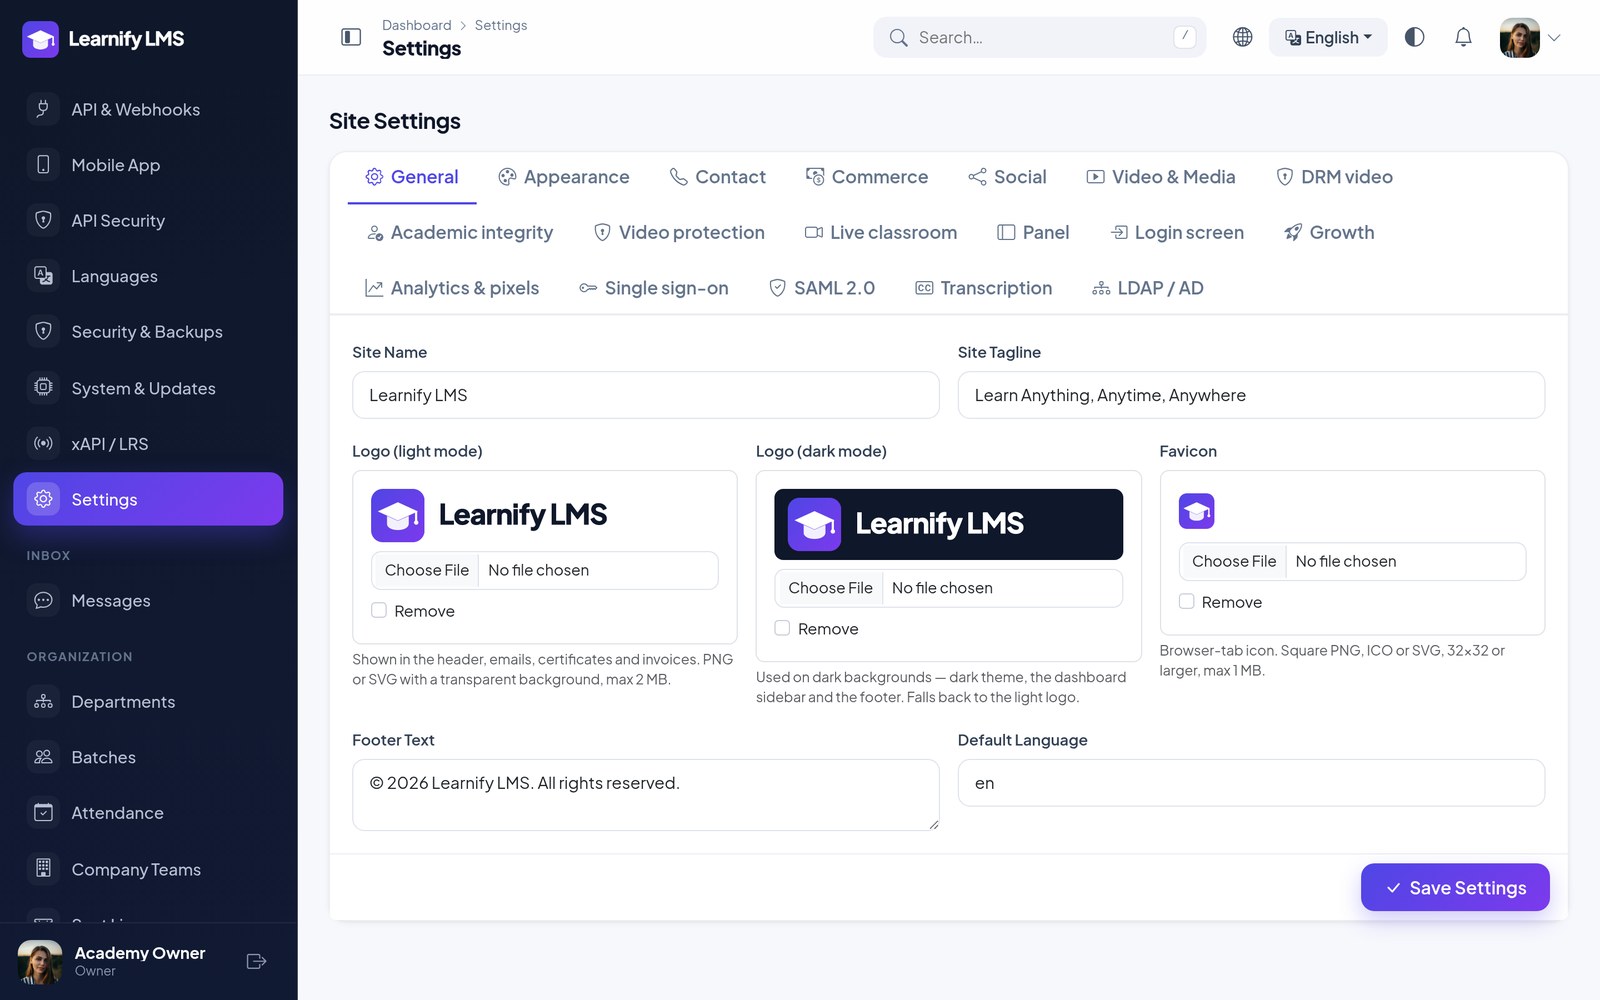
Name, logo, language, currency, the kind of academy and your payment details, then the Getting started list on the dashboard. No cron job is needed; add one later only for exact timing.
-
Set up mail and storage
SMTP so registration, receipts and password resets arrive; local or S3-compatible storage for uploads.
-
Connect a payment gateway
Stripe, PayPal, SSLCommerz or manual bank transfer. Add your keys under Payments → Payment Gateways and press Test keys where the card has it. Stripe and Razorpay also need the webhook address shown on their card added in their own dashboard.
First Login
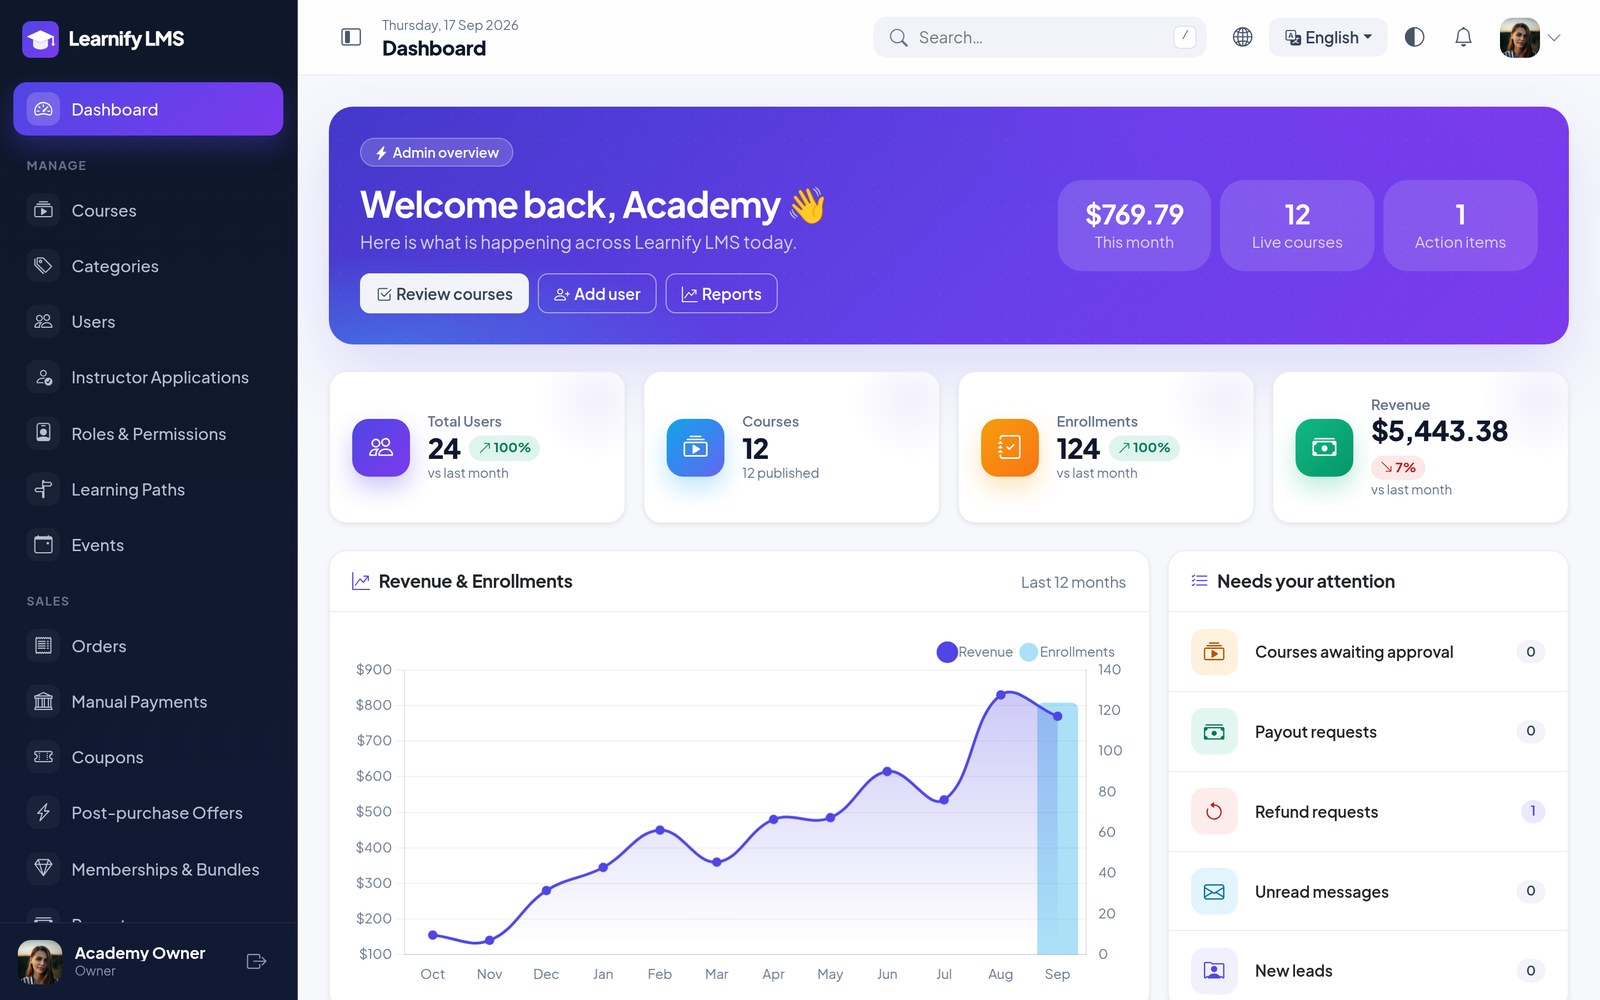
After the installer finishes, sign in with the admin account you just created. You land on the dashboard; the sidebar is grouped by what you are doing — Manage, Sales, Finance, Marketing, Content, System, Organization.
Change the default admin path and enable two-factor authentication before you announce the site. Both are under Security & Backups.
Stage 2 · Mobile App (Flutter)
The app is a normal Flutter project. You only have to tell it where your API lives, then set the name and icon. Everything else — colours, logo, splash — comes from your admin panel at runtime.
-
Install Flutter
Flutter 3.44 stable (Dart 3.12). Android Studio for Android builds; Xcode on macOS for iOS.
-
Point it at your site
Set
API_URLto your HTTPS domain. It is a--dart-define, so you never edit source to change environments. -
Set the app identity
Application id / bundle id, display name and launcher icon — the three things you cannot change after publishing.
-
Add Firebase (optional)
Only needed for push notifications. Drop in the two config files and enable push in the panel.
-
Build a release
An App Bundle for Play, an archive for the App Store. Test the debug build against your live API first.
Customization
Everything below is yours to change before you publish — the item ships with a neutral Learnify identity so it never fights your own brand.
| What | Where |
|---|---|
| App display name | Android: android:label in android/app/src/main/AndroidManifest.xml. iOS: CFBundleDisplayName in ios/Runner/Info.plist. Full steps in Mobile App → App Name, Id & Icon. |
| Application id / bundle identifier | Android: applicationId and namespace in android/app/build.gradle.kts. iOS: the bundle identifier in Xcode → Signing & Capabilities. Ships as com.learnify.lms; change it to your own reverse-domain id before your first store upload — it cannot be changed afterwards. |
| Launcher icon | Replace the source image under assets/ and run flutter pub run flutter_launcher_icons. |
| Colours & logo (website) | Admin panel → Settings → Appearance: presets, colours, font, sidebar, with a live preview. See Web Panel → Settings. |
| Colours, logo & splash screen (app) | Admin panel → Settings → Mobile App. The app reads /api/v1/config on every launch and repaints itself with your site colours; App logo is a separate square mark for the app (512×512 PNG/WebP recommended) that appears on the splash screen, the home header and the login screen — leave it empty and the app falls back to the site logo. No rebuild needed; only the display name, bundle id and launcher icon above need one. See Mobile App → Colours & Logo. |
Change the primary colour or the app logo on a Tuesday afternoon and every installed copy of the app follows on its next launch — no app-store update required.
Launch Checklist
Work down this list before you send anyone to the site.
APP_DEBUG=falseandAPP_ENV=productionin.env.- HTTPS on, with
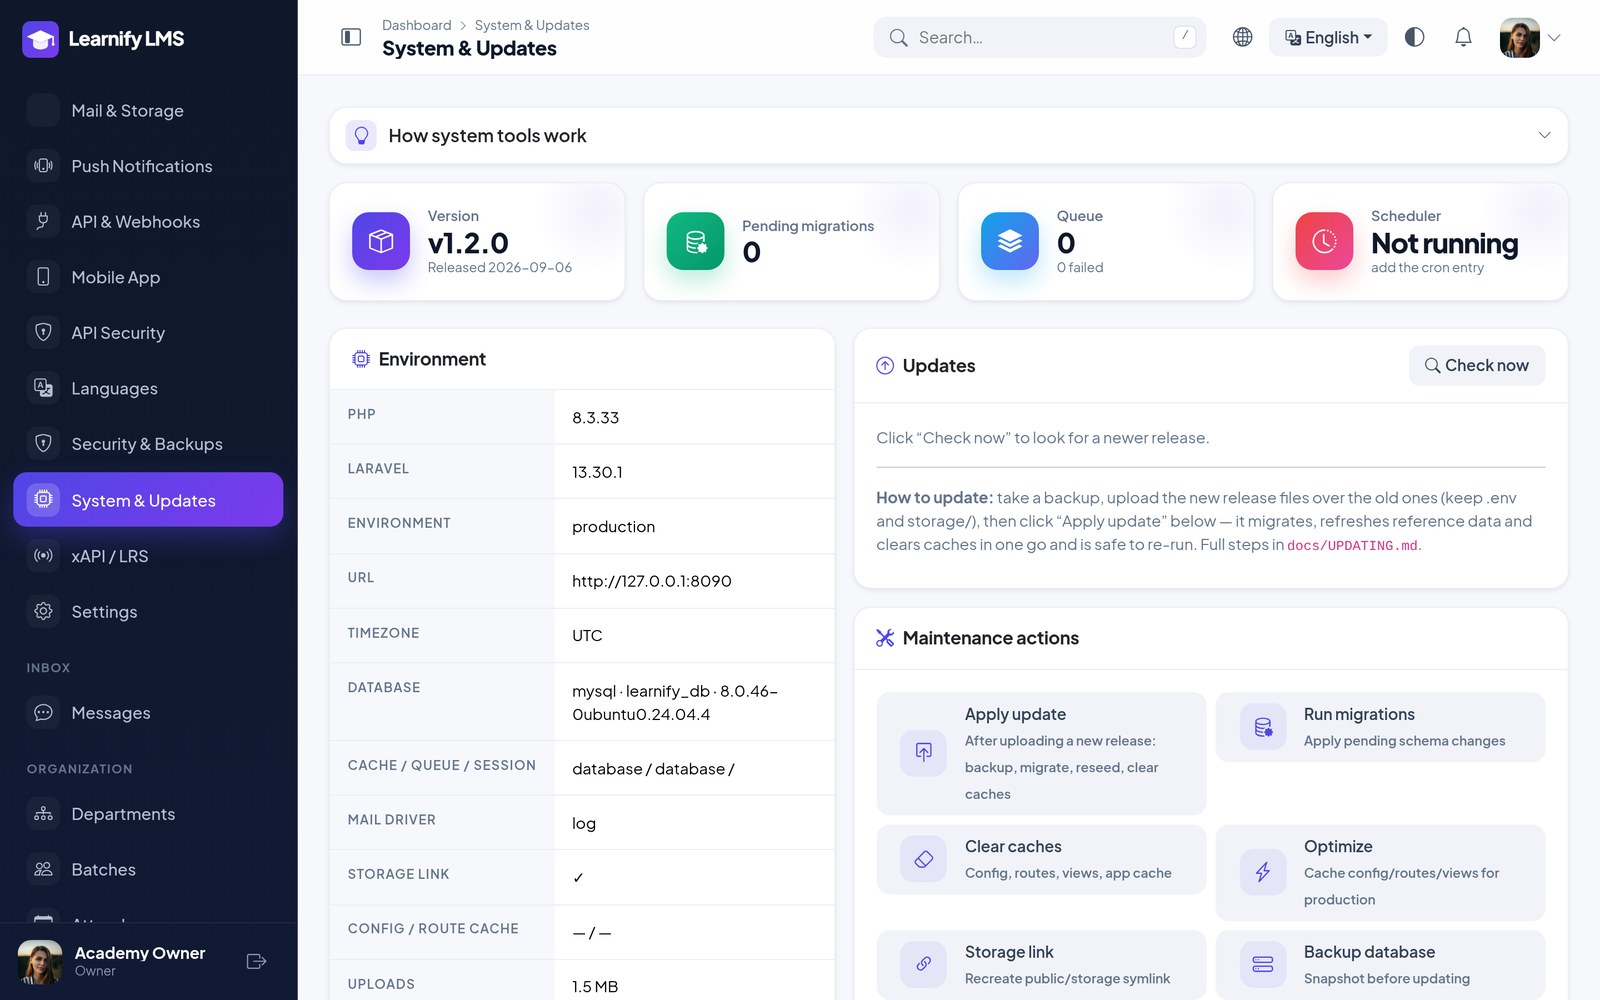
APP_URLset to thehttps://address. - Background tasks are running — System → Health shows the scheduler as running on site visits or from your cron. Add the cron entry if reminders and campaigns must go out at the exact minute on a quiet site.
- A queue worker is running under Supervisor if you use campaigns or large exports.
- SMTP tested: register a throwaway account and confirm the email arrives, then buy a course and confirm the receipt and enrolment welcome arrive too.
- Invoice details filled in under Settings → Contact; decided whether new instructors need approval (Settings → Commerce).
Ongoing third-party costs are yours. The item price covers the source code only. Your own hosting and domain, an SMTP provider for email, a Firebase project for push notifications, and any video hosting/CDN or streaming platform you point the course player at (YouTube, Vimeo, Bunny Stream, Cloudflare Stream, S3, etc.) all carry their own ongoing fees, billed to you by those providers — none of that is included with the purchase, and Apple/Google developer accounts are required separately if you publish the app to their stores.
- Optional: Zoom Server-to-Server credentials under Settings → Live classroom so live classes create their own meetings.
- A payment gateway is live, its keys pass Test keys, its webhook is registered (Stripe, Razorpay), and a real low-value purchase shows the order as paid.
- The default admin path has been changed and two-factor authentication is on.
- Terms, privacy and contact pages have your own content.
- Currency, tax rules and instructor commission match what you actually intend to charge.
- Scheduled backups are configured and one restore has been tested.
- Push tested on a real Android and iOS device (iOS needs the APNs key).
Need the detail behind any step? Open the Web Panel or Mobile App guide from the tabs above — each Quick Start link jumps to the exact section.